

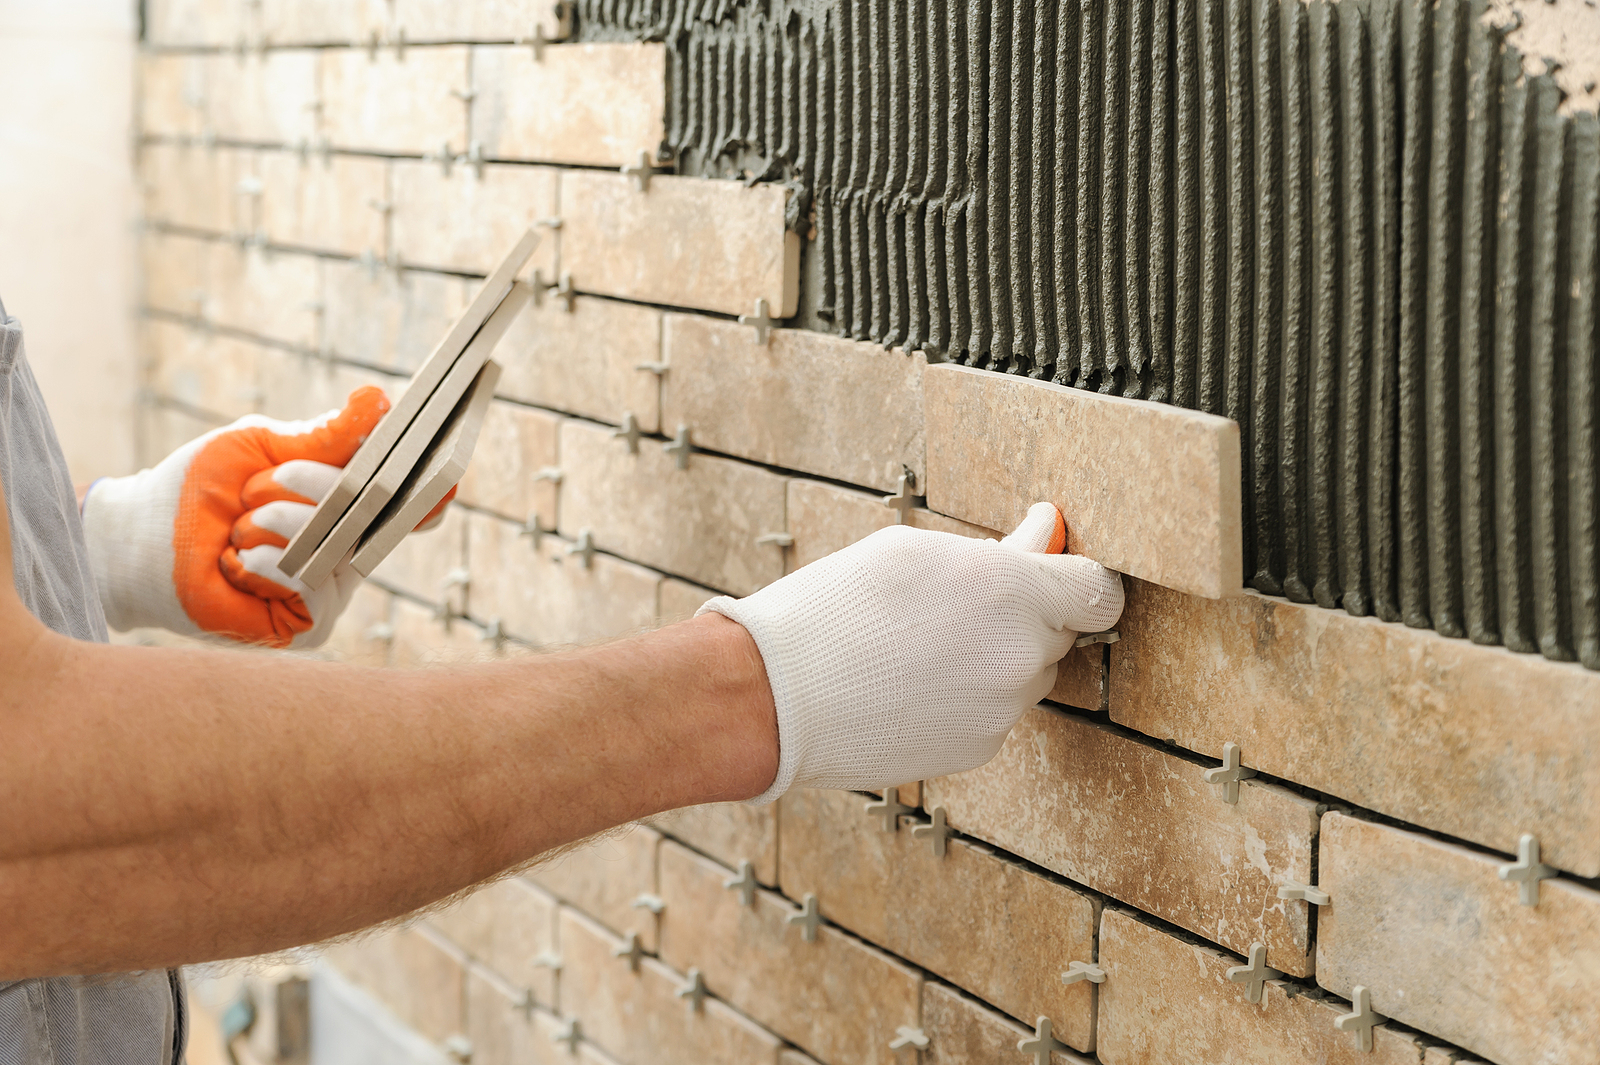
Tile cutting can turn an otherwise tidy remodeling project into a surprisingly messy job. One wrong tool and suddenly there is ceramic dust on the cabinets, chipped tile on the floor, or muddy water splattered across the work area.
What is the cleanest way to cut tile for a remodel? For straight cuts in many ceramic tiles, a manual score-and-snap cutter is often the cleanest option because it creates virtually no airborne dust or water mess. For porcelain, natural stone, and cuts that need a smoother or more precise edge, a properly operated wet tile saw is usually the better choice. The trick is matching the cutting method to the tile and the cut instead of trying to use one tool for everything.
Why Does the Type of Tile Matter?
Not all tile behaves the same once a blade or scoring wheel touches it.
Standard ceramic tile is generally easier to score and snap. A quality manual cutter can produce quick, clean straight cuts without electricity, water, or much cleanup afterward.
Porcelain is denser and harder. Although some porcelain can be cut successfully with a good manual tile cutter, tougher pieces are more likely to require a diamond-blade wet saw.
Natural stone introduces another set of considerations. Marble, granite, and similar materials can chip or fracture along natural variations in the stone, so controlled cutting becomes even more important.
Before choosing the tool, look at what you are actually installing.
A method that works beautifully on inexpensive wall tile may produce frustrating results on a large-format porcelain floor tile.
Is a Manual Tile Cutter the Cleanest Option?
For the right cut, it is hard to beat. A manual score-and-snap cutter uses a small wheel to score the glazed surface. Then you apply pressure along that line so the tile breaks cleanly.
There is no spinning blade.
No spray.
Very little debris.
That makes it particularly useful during an interior remodel where the homeowner may still be living in the house.
It is also quick. Once measurements are marked, a skilled installer can make repeated straight cuts without walking back and forth to a saw.
Manual tile splitters also have an important dust advantage. OSHA notes that use of tile splitters, when performed in isolation from other silica-generating work, is among the activities typically expected to generate relatively low respirable crystalline silica exposure.
There is a limitation, of course.
A snap cutter makes straight lines.
As soon as the tile needs a notch around a doorway, a narrow strip, a plumbing opening, or an irregular shape, you may need another tool.
When Is a Wet Tile Saw the Better Choice?
When accuracy matters more than keeping the floor completely dry.
A wet saw uses a diamond blade along with a continuous supply of water at the cutting area. The water cools the blade and helps control the fine dust created as the blade moves through tile.
For porcelain, stone, thick tile, and difficult straight cuts, this can produce a cleaner edge than forcing the material through a method it does not tolerate well.
A wet saw is also valuable when the cut edge will remain visible. The cleaner the initial cut, the less time someone has to spend dressing or smoothing it afterward.
There is still some cleanup. Anyone who has spent a day at a tile saw knows that water and fine tile particles eventually produce slurry.
But that mess is much easier to contain than filling an occupied home with fine dry dust.
OSHA specifically treats stationary tile saws cutting materials such as porcelain, stone, and ceramic as stationary masonry saws. Under its silica-control requirements, the saw should use an integrated water-delivery system that continuously feeds water to the blade.
Why Is Dry Cutting Tile Indoors a Bad Idea?
Because the dust is not simply annoying. Ceramic products and many stone materials contain crystalline silica. Cutting, grinding, or otherwise disturbing silica-containing materials can release tiny respirable particles that can enter the lungs.
OSHA identifies respirable crystalline silica exposure as a serious occupational health hazard and requires controls such as wet methods and local exhaust ventilation for applicable construction work.
From a remodeling standpoint, there is another practical reason to avoid unnecessary dry cutting indoors.
Dust travels.
It gets into cabinets, settles on furniture, finds HVAC returns, and works its way into rooms that seemed safely separated from the project.
Closing the bathroom door does not necessarily keep the rest of the house clean.
Whenever practical, move messy cutting outside or into a controlled work area.
What About an Angle Grinder?
Angle grinders are extremely useful during tile installation, but they would not win an award for cleanest tool in the room.
With the appropriate diamond blade, a grinder can create L-shaped cuts, notches, curves, and other shapes that are difficult to produce on a standard wet saw.
That flexibility is why remodelers keep one nearby.
The tradeoff is dust.
Dry grinding or cutting silica-containing material can generate significant airborne particles. When wet cutting isn’t practical, OSHA identifies dust shrouds and suitable vacuum systems as engineering controls that can reduce exposure.
For a couple of awkward cuts, a grinder can be exactly the right tool.
It should not automatically become the tool used to cut every tile simply because it is convenient.
How Do You Make Clean Cuts Around Pipes and Fixtures?
Bathrooms and kitchens rarely give installers nothing but straight lines. Tile may need to fit around toilet flanges, plumbing pipes, shower valves, electrical outlets, cabinets, and corners.
You can handle small shaping jobs with tile nippers. Hole saws or diamond core bits are useful for circular openings, depending on the material and size required.
The important part is measuring from the finished installation position.
A beautifully cut hole in the wrong location still ruins the tile.
It also helps to leave enough clearance for the fixture or trim plate without removing more tile than necessary. Often, the finished plumbing escutcheon hides the edge of the cut, but that doesn’t mean the opening should be careless.
Measure once.
Then check it again before cutting.
Tile is considerably easier to adjust while the pencil mark is still only a pencil mark.
Does the Blade Affect How Clean the Cut Looks?
Very much. A worn, inappropriate, or damaged blade can chip the face of a tile even when the saw itself is perfectly capable of making the cut.
Use a blade intended for the material being installed.
Porcelain, ceramic, glass, and natural stone don’t always perform best with the same blade.
Feeding the tile too quickly can cause trouble too.
Let the blade do the work.
Pushing hard to finish three seconds sooner can introduce chips, wandering, or breakage that costs considerably more time when you have to measure and cut another tile.
Large-format tile deserves particular patience because one mistake can mean throwing away an expensive piece.
How Can You Keep the Remodel Cleaner While Tile Is Being Cut?
Tool selection handles part of the problem. Worksite organization handles the rest.
Set up the wet saw outside when practical. Protect the route between the saw and the installation area so workers don’t track slurry through the house. Keep cut pieces organized instead of piling fragments around the project.
Vacuum debris as work progresses.
When silica-containing dust is involved, OSHA recommends HEPA-filtered vacuuming or wet cleanup methods rather than dry sweeping or blowing settled dust around with compressed air.
A clean jobsite isn’t just about appearances.
Tile installation requires constant measuring, fitting, leveling, and movement. The less clutter around the installer, the easier it is to concentrate on getting those details right.
Should You Cut Every Piece Before Starting Installation?
Usually not. It sounds efficient: measure everything, cut everything, then install. Real rooms have other ideas.
Walls are not always perfectly square. Floors may have small variations. Tile spacing shifts slightly as the installation progresses.
A piece measured before the surrounding tile is installed may not fit as expected once the actual grout joints and alignment become clear.
Experienced installers commonly work progressively.
- Install.
- Measure the next difficult area.
- Cut.
- Dry-fit.
- Make an adjustment if necessary.
- Then set the piece.
It may seem slower on paper, but throwing away fewer incorrectly cut tiles often saves time in the end.
When Is Professional Tile Installation Worth It?
A small backsplash with uncomplicated ceramic tile can be a manageable project for an experienced DIY homeowner.
The equation changes with an entire shower, large-format porcelain flooring, complicated patterns, expensive stone, niches, transitions, or numerous plumbing cuts.
Visible tile is only part of the job, too.
Substrate preparation, waterproofing, layout, mortar selection, grout spacing, transitions, and movement accommodation all affect the finished installation.
Turning Point Home Solutions provides flooring installation as well as kitchen and bathroom remodeling for homeowners in Port Charlotte and communities throughout the Sarasota-area market. Its broader remodeling services allow tile work to be coordinated with the other pieces of a renovation rather than treated as an isolated task.
What Is the Cleanest Way to Cut Tile for a Remodel?
Ultimately, what is the cleanest way to cut tile for a remodel? Use a manual score-and-snap cutter for straightforward cuts when the tile allows it, and use a wet saw for harder materials or when you need a more controlled edge.
Specialty tools can handle curves, holes, and notches, but minimize dry power cutting and use proper dust controls when working with silica-containing materials. Matching the tool to each cut usually produces better-looking tile, less waste, and a much cleaner remodeling project.
If new tile is part of a kitchen, bathroom, or flooring renovation, contact Turning Point Home Solutions for a free quote. Their team can coordinate the tile installation with the rest of the project, from flooring and finish work to complete kitchen and bath improvements throughout Port Charlotte and surrounding Southwest Florida communities.

